We challenged ourselves to find a way to use color to transition between two totally different clips. By connecting the clips with doodles, the end result is a powerful and playful visual.
By drawing on the actual video with a pencil the transition became all about the creative approach to the connection – resulting in a showreel where energy and color literally flow from one clip to the next.
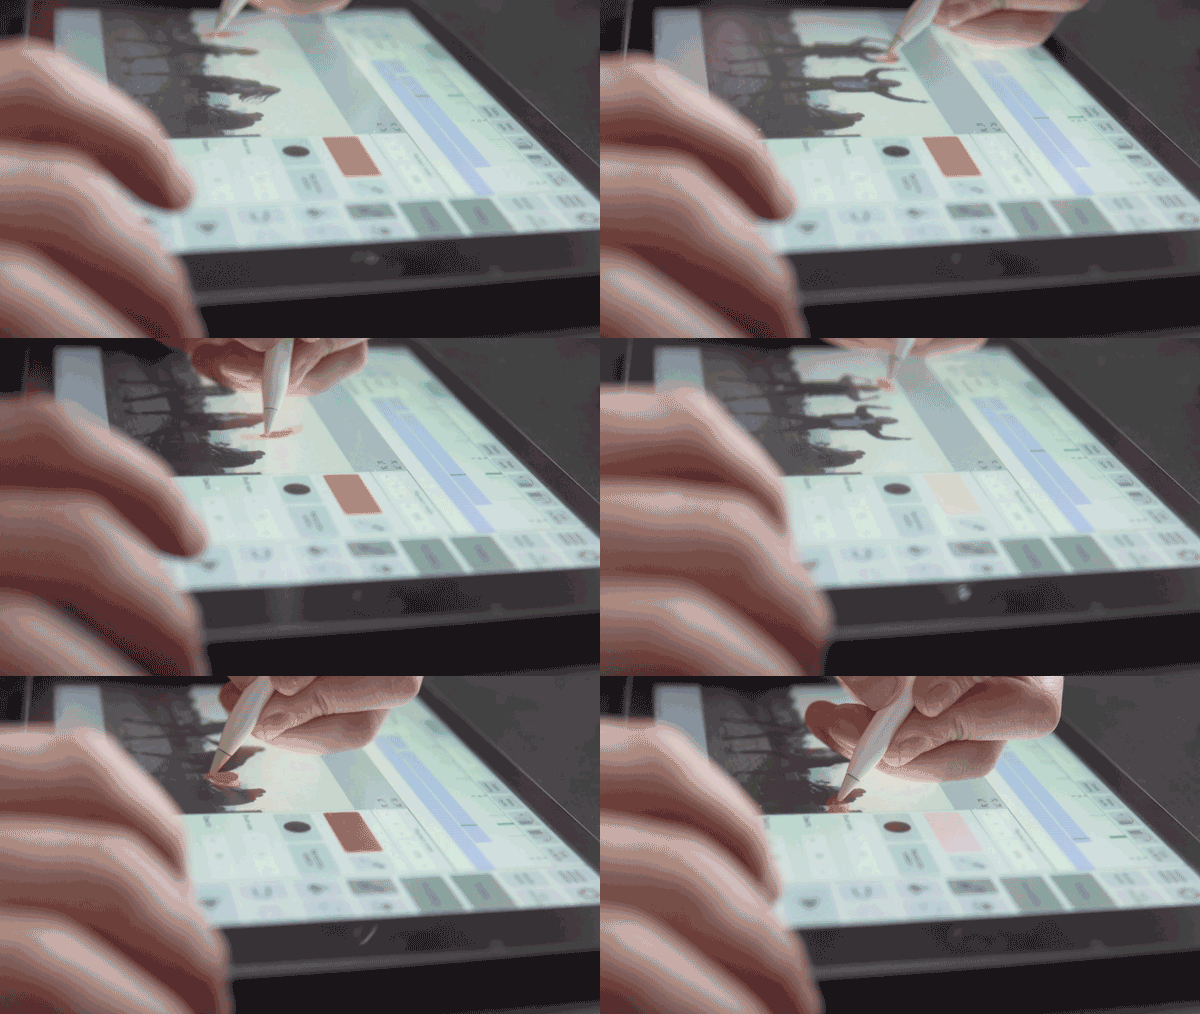
Working in an app called RoughAnimator (on an iPad), the workflow is super intuitive compared to Adobe After Effects or any software out there, because you draw on the actual video with a pencil, which makes it disappear into the background and you can just focus on the creative approach.
What you need
Adobe After Effects (or other video editing software)
Apple iPad (preferably an iPad that is compatible with an Apple Pencil)
Apple Pencil
RoughAnimator app (available on the AppStore for iPad)
1. Creating a base video (for you to draw on later)
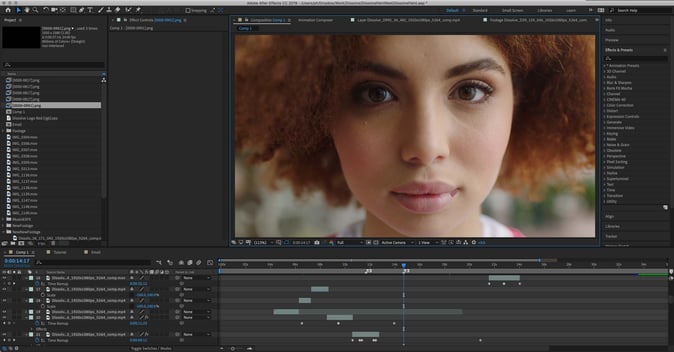
Edit your original (or Dissolve) footage into a base video in After Effects (this can be done in Premiere or any other video editing software as well). At this stage you’re really preparing the base for your animation layer to sit on, so now is the time to focus on the clips you envision transitioning between, pacing, etc.
2. Getting the video onto your iPad
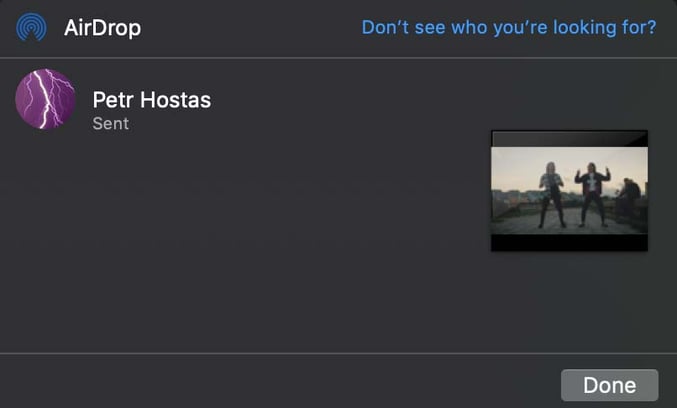
Transfer the base video onto your iPad using AirDrop.
3. Create a new project in RoughAnimator
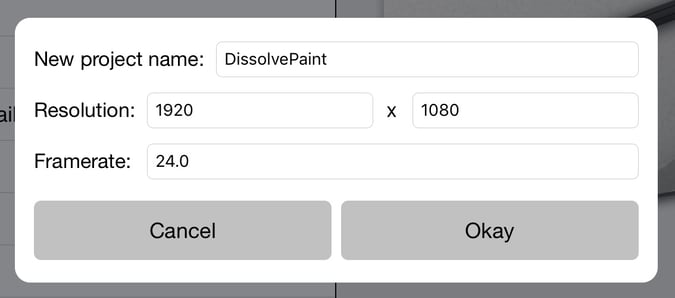
Create a new project in RoughAnimator (the current max resolution is 1080p), and import the base video. After it loads all the frames into the timeline, create a new layer for your doodles.
4. Frame by frame doodling!
Now it’s all up to you and your creativity (and a lot of patience)!
Find the frame you want to draw on (making sure you have the animation layer selected), and start drawing! When you want to draw on the next frame, simply click the “next frame” button, and repeat.
Create the next frame by copying the current one by tapping on ‘Add drawing’ and selecting ‘Duplicate after’.
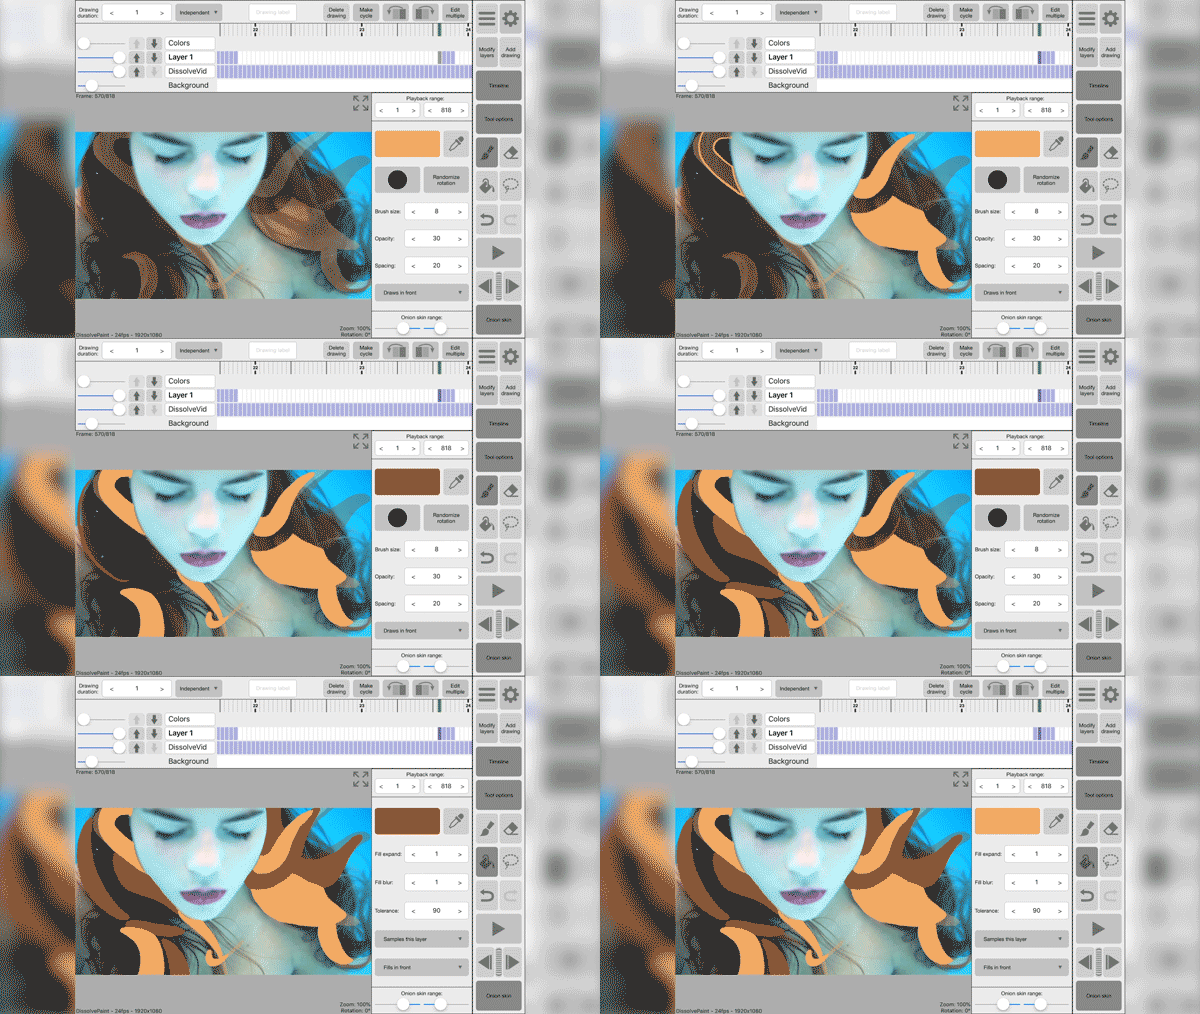
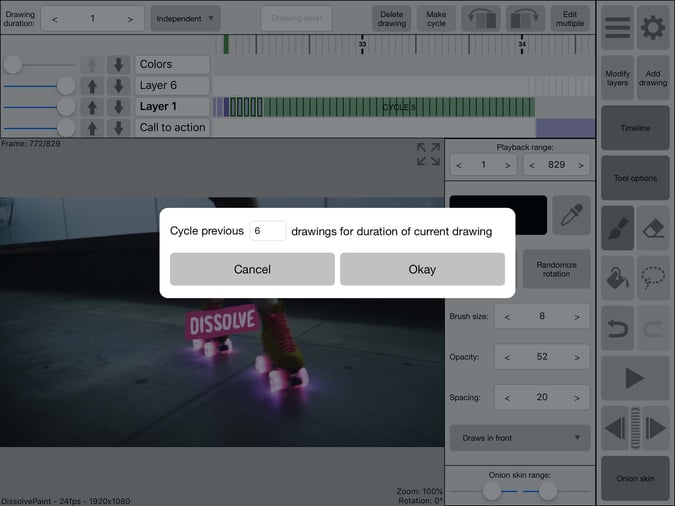
Pro tip: If you need to repeat any number of frames over and over, just select ‘Make cycle’ at the top and then stretch out the cycle to any number of frames by changing the ‘Drawing duration’.
5. Exporting the animation layer
After you finish the animation process, you can easily export a .MOV file from RoughAnimator and get a finished composite video (but unfortunately that video won’t have any sound).
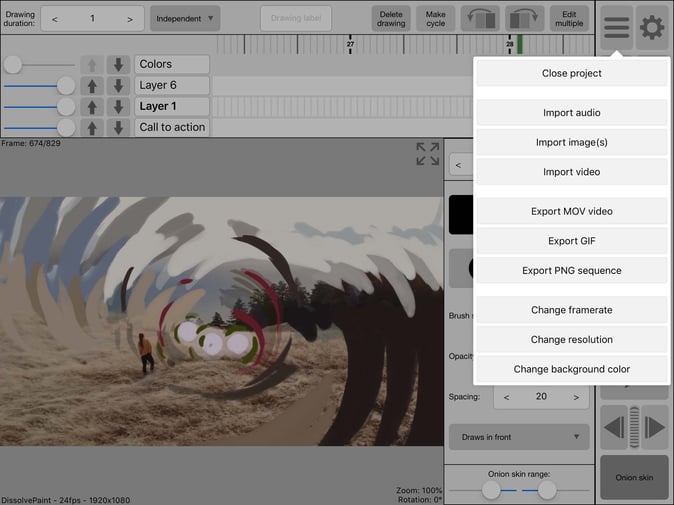
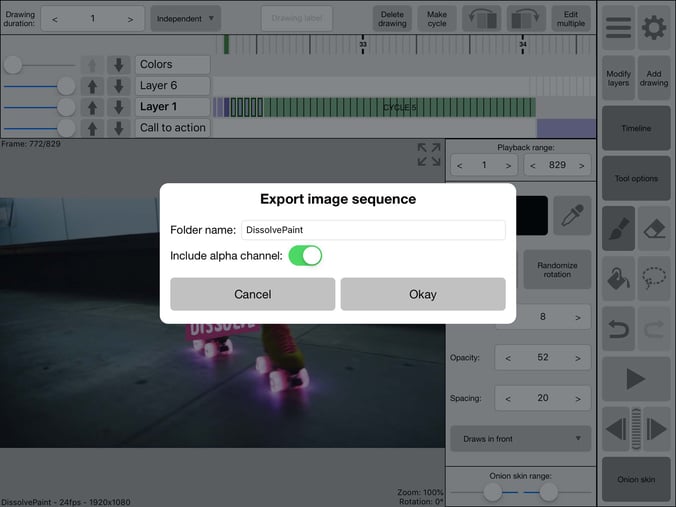
We exported the animation layers out as individual .PNG images, so we could import them into After Effects and control how they sat on top of our base video.
To do this, you need to turn the opacity of the original footage layer down to 0, and make sure “Include alpha channel” is turned on in the export window.
Transfer the file to your computer using AirDrop, and import it into After Effects as a PNG sequence (with the matching frame rate as your base video). By doing it this way, you preserve the original quality of the footage in your base video, and it also gives you extra control over the animation layer for added effects or color corrections etc.
6. Render out your final video
Render out your final video as you normally would from After Effects!
Dissolve Premium (dissolve.com) has been the go-to for quality stock footage and photos by the world's top creative agencies and production houses. Some of the best filmmakers and stock producers from around the world are with Dissolve — our rapidly growing collection of unique, compelling footage is a testament to that. In addition to our quality stock footage and photography business, we launched Dissolve Creators (dissolve.com/creators/community). A platform for photographers, filmmakers, producers, and designers to connect and share their work as free downloadable content. We offer these creatives (amateur or pro) a bridge to our clientele, gig opportunities, networking opportunities, as well as our knowledge of the stock industry.


.png)
.png)
.png)
