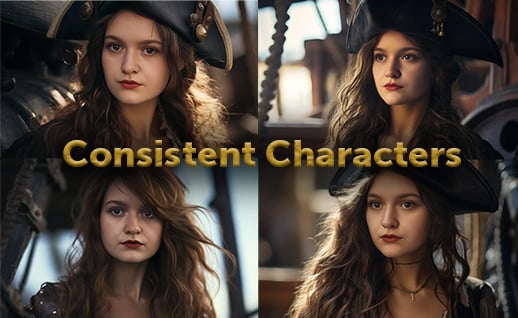
Unleash the power of Midjourney and Insight Face Swap to create consistent characters in your digital art. Learn step-by-step techniques to bring your characters to life.
Introduction
Have you ever wondered how to create consistent characters using Midjourney and Insight Face Swap? This comprehensive guide will walk you through the steps with practical tips to help you generate character consistency.

Outline
- Introduction to Midjourney and Insight Face Swap
- Setting Up Your Server in Discord
- Adding Midjourney Bot to Your Server
- Installing Insight Face Swap
- Creating Your First Consistent Character
- Saving Your Character ID
- Generating Your Character's First Image
- Face Swapping Techniques
- Creating Consistent Images
- Adding More Characters
- Swapping Faces of Multiple Characters
- Creating a Female Warrior Character
- Swapping Faces with a Female Model
- Video Tutorial
- Frequently Asked Questions
Introduction to Midjourney and Insight Face Swap
Midjourney and Insight Face Swap are powerful tools that can transform your digital artistry. Midjourney is a bot that generates AI-created images, while Insight Face Swap is an open-source software that allows you to swap faces in images. Together, they can create consistent characters based on certain people, including models or even yourself.

Setting Up Your Server in Discord
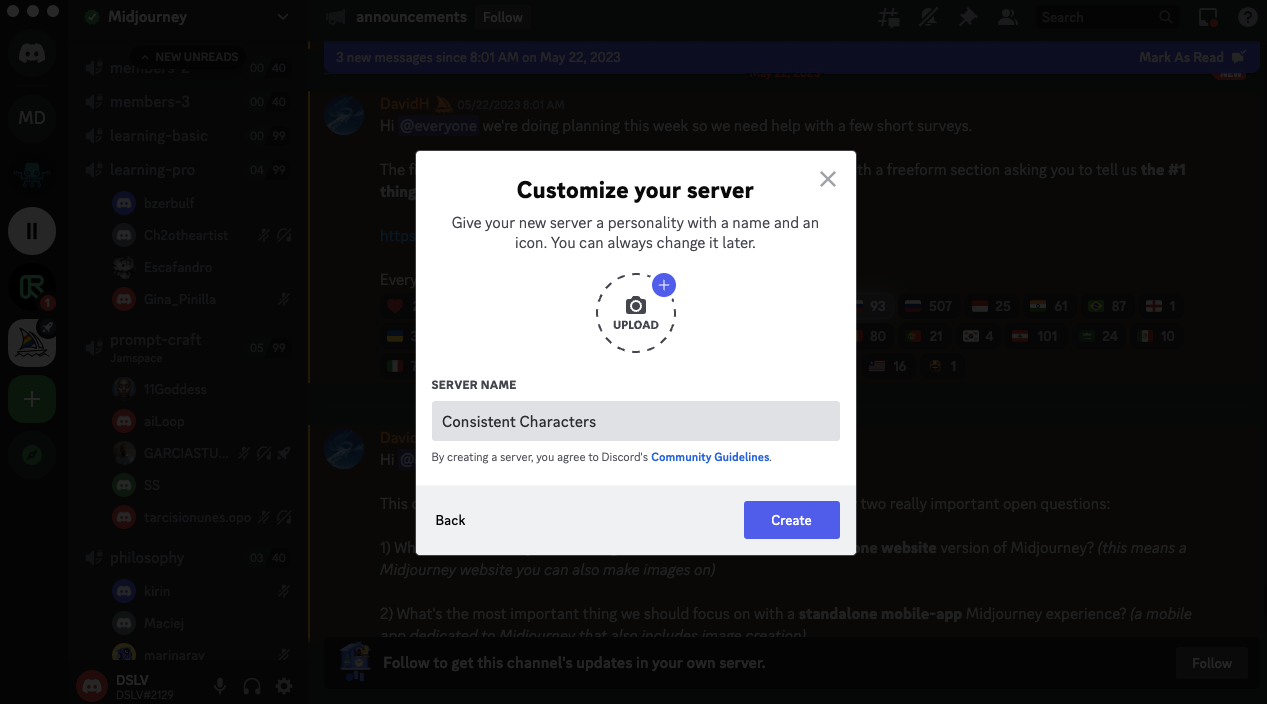
Before you can start creating, you need to set up your server in Discord. This is a simple process that involves clicking on the plus sign at the bottom of the Discord interface and following the prompts to create your own server. You can name your server anything you like, but for the purpose of this guide, we'll call it "Consistent Characters."

Adding Midjourney Bot to Your Server
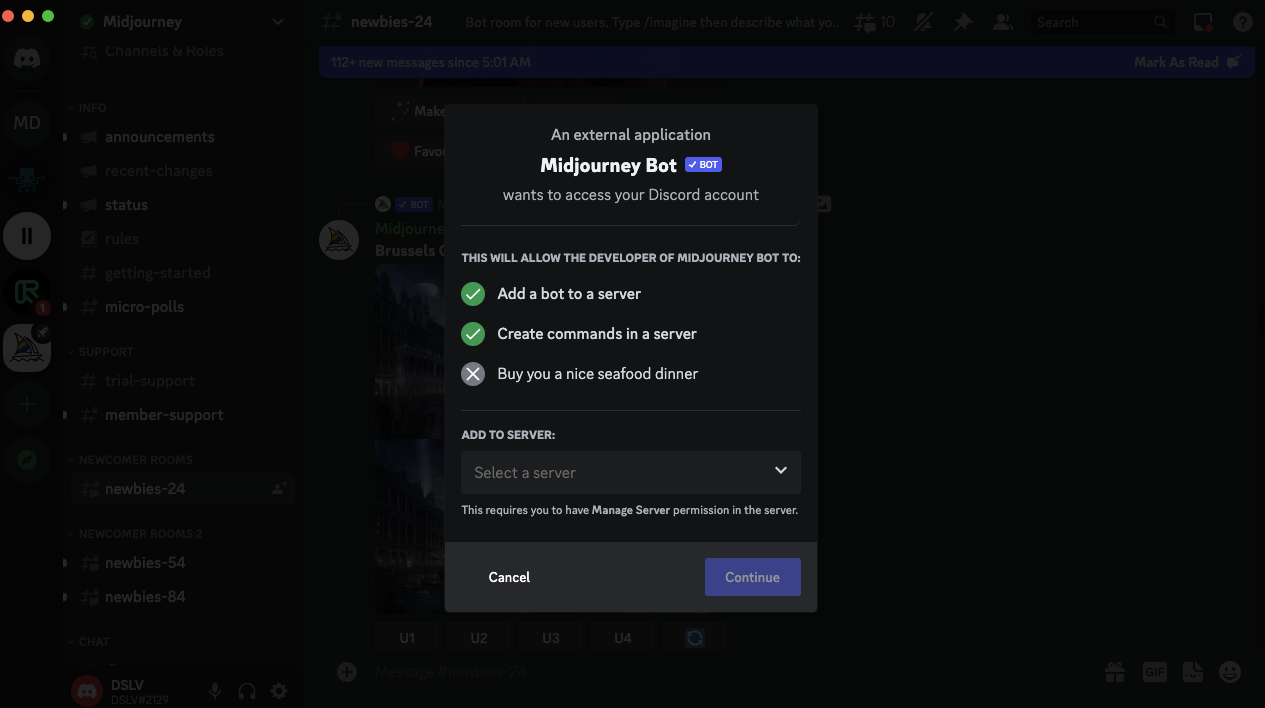
Once your server is set up, the next step is to add the Midjourney bot. This involves finding the Midjourney server on the left side of the Discord interface, clicking on it then look for any newbie server then click the Midjourney's Bot name, and then select "Add to Server." You'll need to accept the invitation and select your server from the dropdown menu.

Installing Insight Face Swap
After adding the Midjourney bot, it's time to install Insight Face Swap. Use the following link to install:
https://discord.com/oauth2/authorize?client_id=1090660574196674713&permissions=274877945856&scope=bot
After clicking on the link, you'll be prompted to accept the invitation and select your server. Once you've done this, you'll have both the Midjourney bot and Insight Face Swap installed on your server.

Creating Your First Consistent Character
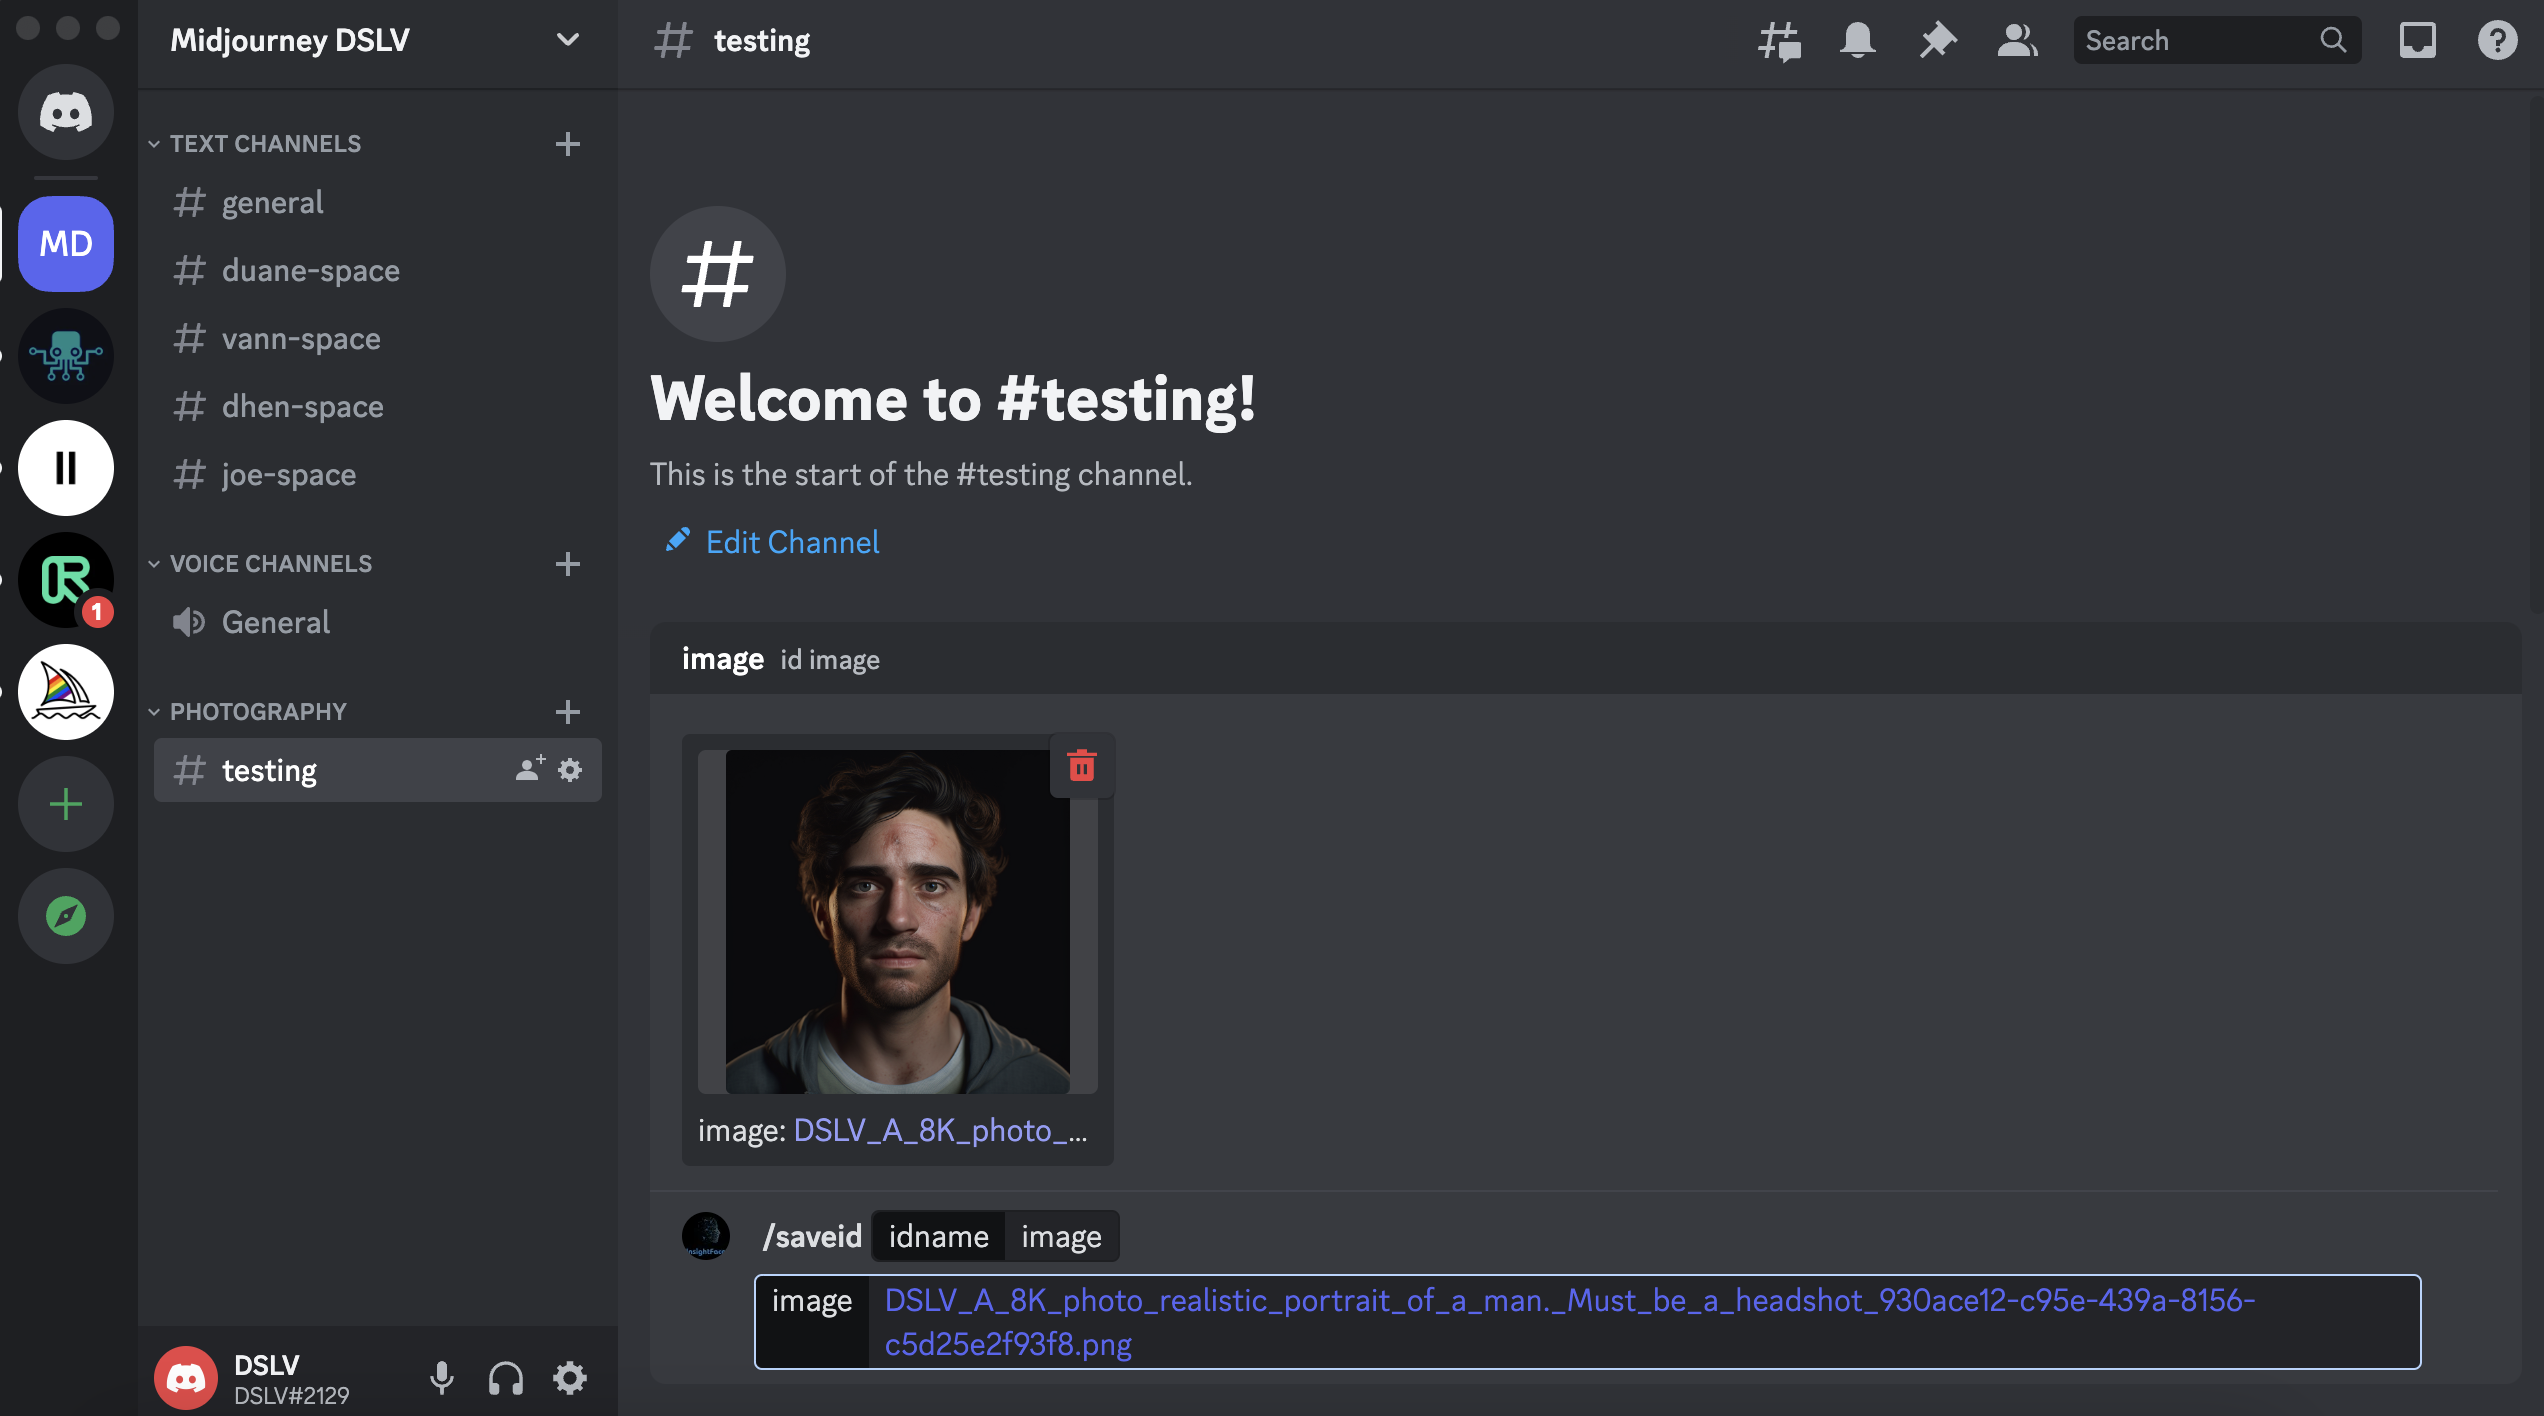
Now comes the fun part: creating your first consistent character. This is done by using the command "/save ID" in the Discord chat. After entering this command, you can drag and drop an image of the face you want to use for your character. This could be a model, a friend, or even yourself. After dropping the image, you'll need to give your character an ID name. This name will be used to identify your character in future commands.

Saving Your Character ID
After creating your character, it's important to save their ID. This is done by using the command "/list ID." This command will display a list of all the character IDs you've created, allowing you to easily swap between different characters.

Generating Your Character's First Image
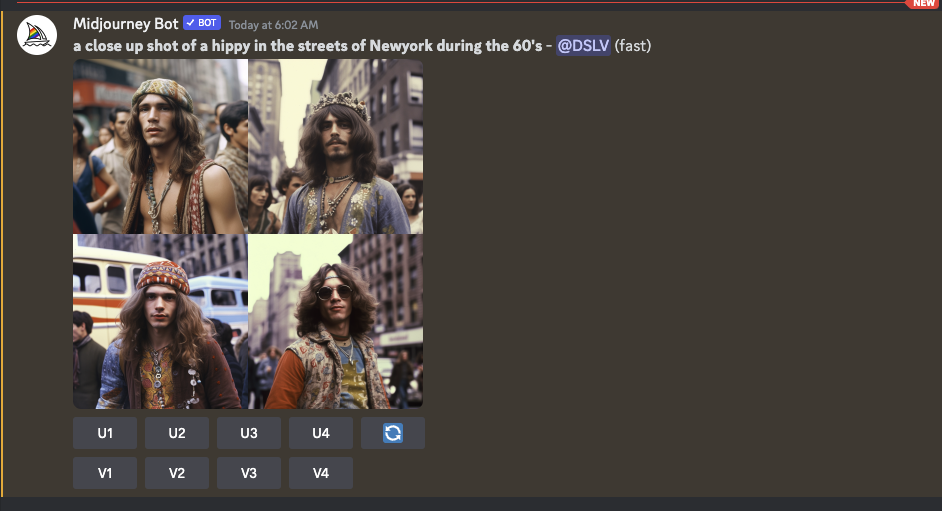
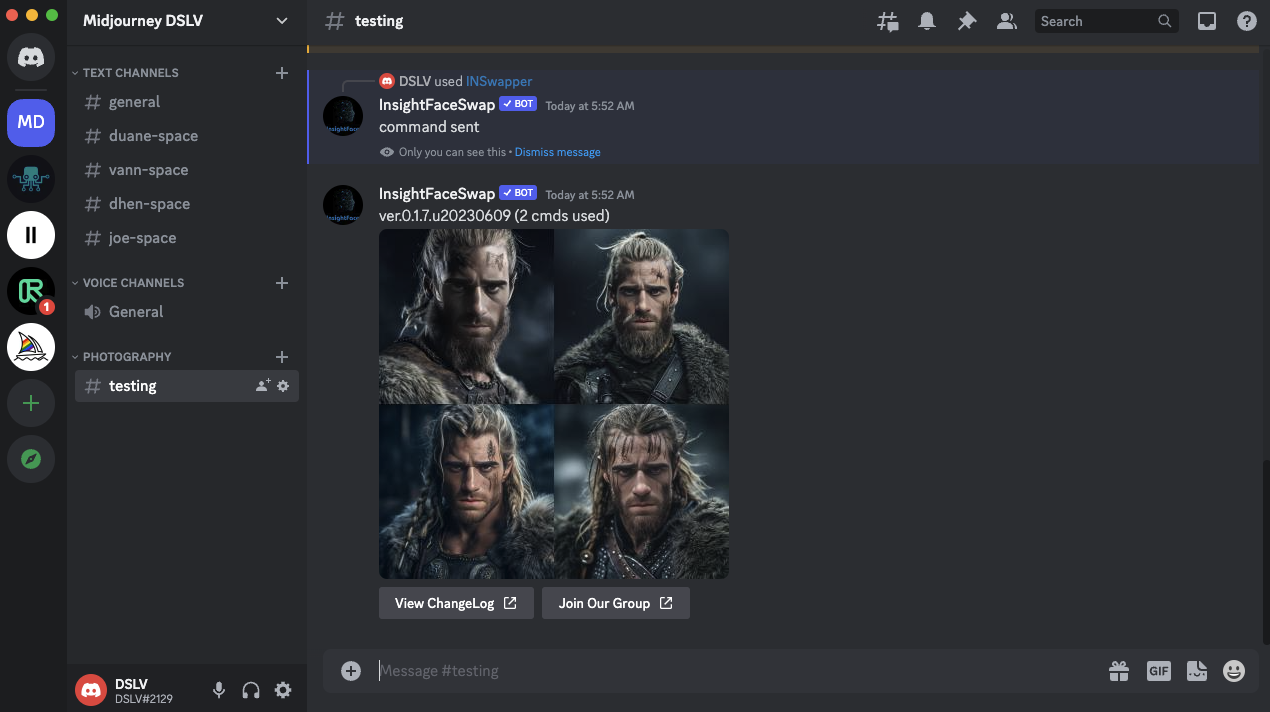
With your character created and their IDsaved, it's time to generate their first image. This is done by using the command "/imagine" followed by a description of the image you want to create. For example, you could enter "/imagine Nordic male warrior looking mean, portrait shot, looking at camera" to create an image of a fierce Nordic warrior.

Face Swapping Techniques
Once your image is generated, you can use Insight Face Swap to swap the face in the image with your character's face. This is done by right-clicking on the image, selecting "Apps," and then selecting "In Swapper." This will replace the face in the image with the face of your character, creating a consistent character image.

Creating Consistent Images
Creating consistent images is all about repeating the process. You can generate new images and swap faces as many times as you like, creating a series of images that feature your character in different scenarios.

Adding More Characters
If you want to add more characters, you can do so by repeating the process. You can create as many characters as you like, each with their own unique ID. This allows you to swap between different characters, adding variety to your images.
Swapping Faces of Multiple Characters
Swapping faces of multiple characters is as simple as selecting the character ID you want to use before swapping faces. This allows you to create images that feature different characters, each with their own consistent look.

Video Tutorial
For those who prefer a more visual approach, be sure to check out this comprehensive video tutorial on creating consistent characters using Midjourney and Insight Face Swap.
The tutorial, available on AI In A Minute's YouTube channel. It provides a step-by-step walkthrough of the process, making it easy to follow along.
Frequently Asked Questions
-
Can I use my own face for character creation? Yes, you can use any image for character creation, including a picture of yourself.
-
Can I create multiple characters? Yes, you can create as many characters as you like. Each character will have its own unique ID.
-
Can I use these techniques for professional projects? Absolutely! These techniques can be used for a wide range of professional projects, including game design, animation, and more.
-
Is there a limit to the number of images I can generate? No, there is no limit to the number of images you can generate.
-
Can I use these techniques with other bots and software? While this guide focuses on Midjourney and Insight Face Swap, many of the techniques can be applied to other bots and software. Always check the capabilities and terms of use of the software you are using.
Recent Posts
How to Generate Consistent Characters with Midjourney and InsightFace
Unleash the power of Midjourney and Insight Face Swap to create consistent characters in your digital art. Learn step-by-step techniques to bring your characters to life.
Introduction
Have you ever wondered how to create consistent characters using Midjourney and Insight Face Swap? This comprehensive guide will walk you through the steps with practical tips to help you generate character consistency.

Outline
- Introduction to Midjourney and Insight Face Swap
- Setting Up Your Server in Discord
- Adding Midjourney Bot to Your Server
- Installing Insight Face Swap
- Creating Your First Consistent Character
- Saving Your Character ID
- Generating Your Character's First Image
- Face Swapping Techniques
- Creating Consistent Images
- Adding More Characters
- Swapping Faces of Multiple Characters
- Creating a Female Warrior Character
- Swapping Faces with a Female Model
- Video Tutorial
- Frequently Asked Questions
Introduction to Midjourney and Insight Face Swap
Midjourney and Insight Face Swap are powerful tools that can transform your digital artistry. Midjourney is a bot that generates AI-created images, while Insight Face Swap is an open-source software that allows you to swap faces in images. Together, they can create consistent characters based on certain people, including models or even yourself.

Setting Up Your Server in Discord
Before you can start creating, you need to set up your server in Discord. This is a simple process that involves clicking on the plus sign at the bottom of the Discord interface and following the prompts to create your own server. You can name your server anything you like, but for the purpose of this guide, we'll call it "Consistent Characters."

Adding Midjourney Bot to Your Server
Once your server is set up, the next step is to add the Midjourney bot. This involves finding the Midjourney server on the left side of the Discord interface, clicking on it then look for any newbie server then click the Midjourney's Bot name, and then select "Add to Server." You'll need to accept the invitation and select your server from the dropdown menu.

Installing Insight Face Swap
After adding the Midjourney bot, it's time to install Insight Face Swap. Use the following link to install:
https://discord.com/oauth2/authorize?client_id=1090660574196674713&permissions=274877945856&scope=bot
After clicking on the link, you'll be prompted to accept the invitation and select your server. Once you've done this, you'll have both the Midjourney bot and Insight Face Swap installed on your server.

Creating Your First Consistent Character
Now comes the fun part: creating your first consistent character. This is done by using the command "/save ID" in the Discord chat. After entering this command, you can drag and drop an image of the face you want to use for your character. This could be a model, a friend, or even yourself. After dropping the image, you'll need to give your character an ID name. This name will be used to identify your character in future commands.

Saving Your Character ID
After creating your character, it's important to save their ID. This is done by using the command "/list ID." This command will display a list of all the character IDs you've created, allowing you to easily swap between different characters.

Generating Your Character's First Image
With your character created and their IDsaved, it's time to generate their first image. This is done by using the command "/imagine" followed by a description of the image you want to create. For example, you could enter "/imagine Nordic male warrior looking mean, portrait shot, looking at camera" to create an image of a fierce Nordic warrior.

Face Swapping Techniques
Once your image is generated, you can use Insight Face Swap to swap the face in the image with your character's face. This is done by right-clicking on the image, selecting "Apps," and then selecting "In Swapper." This will replace the face in the image with the face of your character, creating a consistent character image.

Creating Consistent Images
Creating consistent images is all about repeating the process. You can generate new images and swap faces as many times as you like, creating a series of images that feature your character in different scenarios.

Adding More Characters
If you want to add more characters, you can do so by repeating the process. You can create as many characters as you like, each with their own unique ID. This allows you to swap between different characters, adding variety to your images.

Swapping Faces of Multiple Characters
Swapping faces of multiple characters is as simple as selecting the character ID you want to use before swapping faces. This allows you to create images that feature different characters, each with their own consistent look.

Video Tutorial
For those who prefer a more visual approach, be sure to check out this comprehensive video tutorial on creating consistent characters using Midjourney and Insight Face Swap.
The tutorial, available on AI In A Minute's YouTube channel. It provides a step-by-step walkthrough of the process, making it easy to follow along.
Frequently Asked Questions
-
Can I use my own face for character creation? Yes, you can use any image for character creation, including a picture of yourself.
-
Can I create multiple characters? Yes, you can create as many characters as you like. Each character will have its own unique ID.
-
Can I use these techniques for professional projects? Absolutely! These techniques can be used for a wide range of professional projects, including game design, animation, and more.
-
Is there a limit to the number of images I can generate? No, there is no limit to the number of images you can generate.
-
Can I use these techniques with other bots and software? While this guide focuses on Midjourney and Insight Face Swap, many of the techniques can be applied to other bots and software. Always check the capabilities and terms of use of the software you are using.
Recent Posts
Topics: how-to, tutorial, AI, Midjourney
Posted by
Joe Mak


.png)
.png)
.png)
